|
Please don't hesitate to ask me any
doubt regarding this conversion.
info@leitax.com
|
 |
|
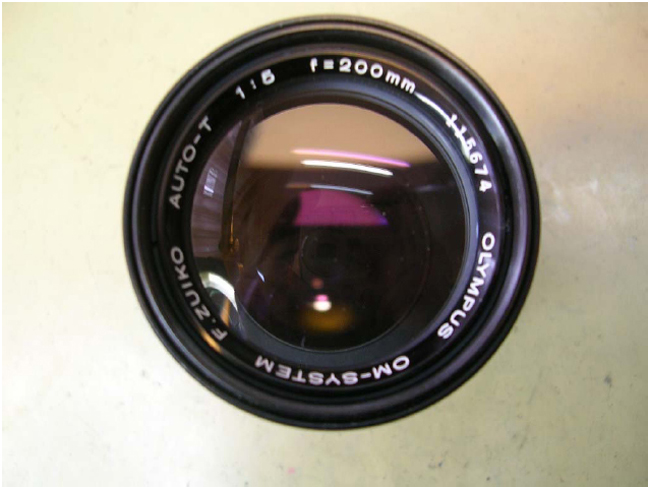
This
is the Olympus OM-System Zuiko 200/5
Our client and friend Nazmi from Istanbul was so generous to take these pictures. So we can take a look at this lens conversion. |
|
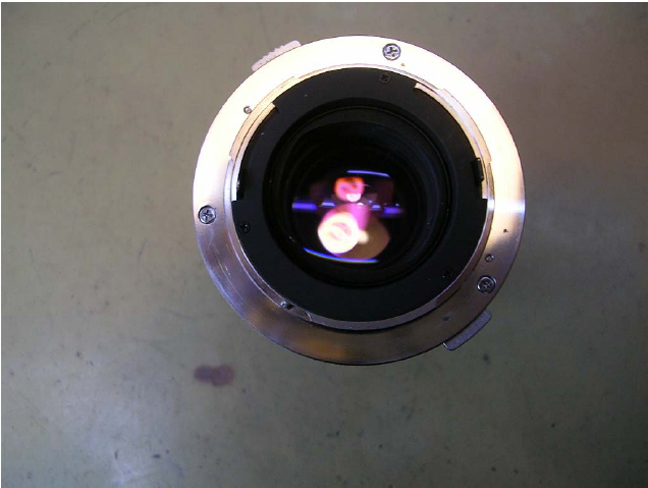
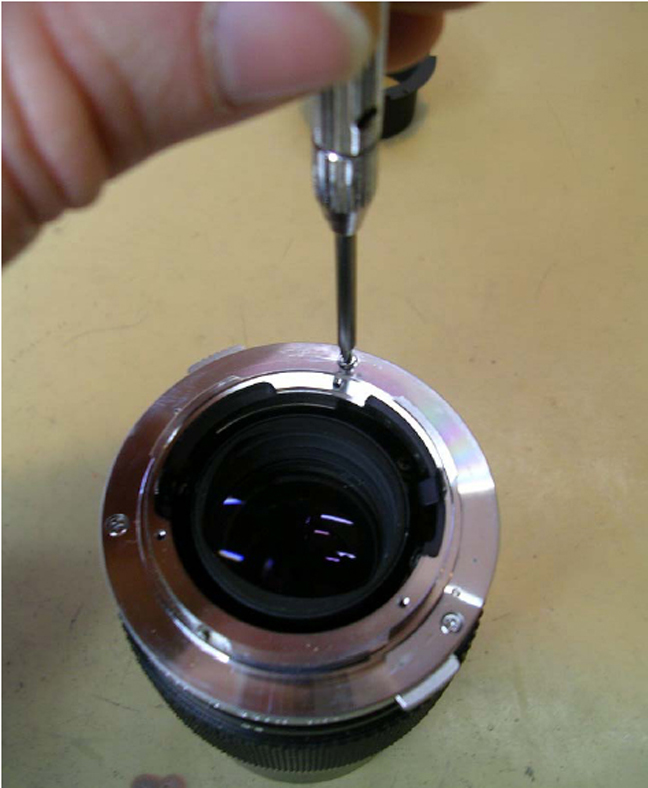
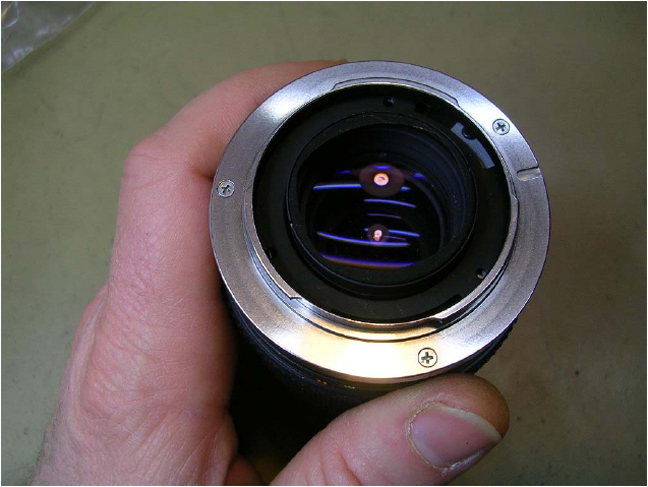
It
has three screws at the bayonet base, which we have to remove. |
|
But Nazmi is going to remove the black shroud too, I don't use to do it, but he has a plan... |
|
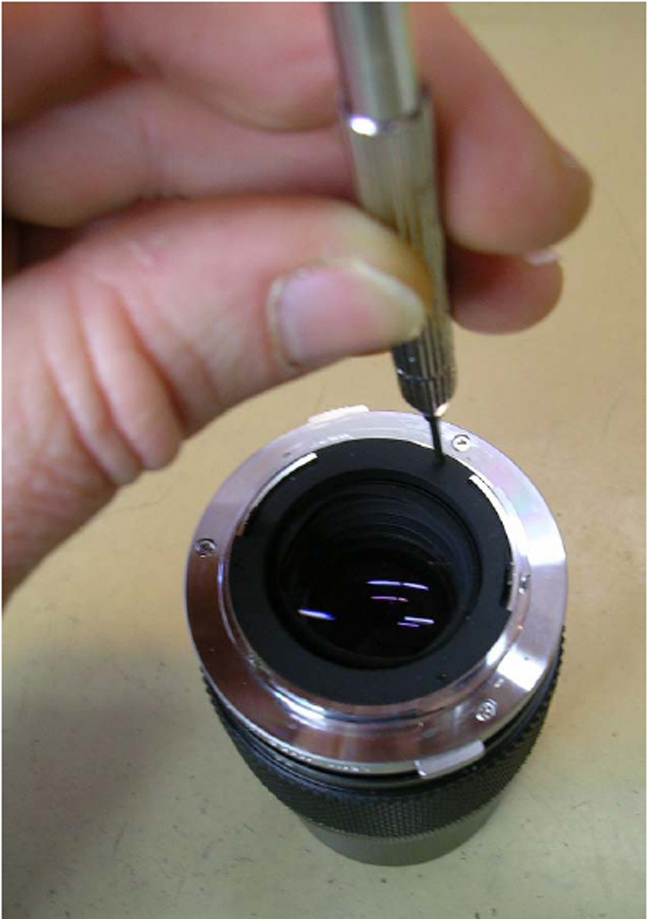
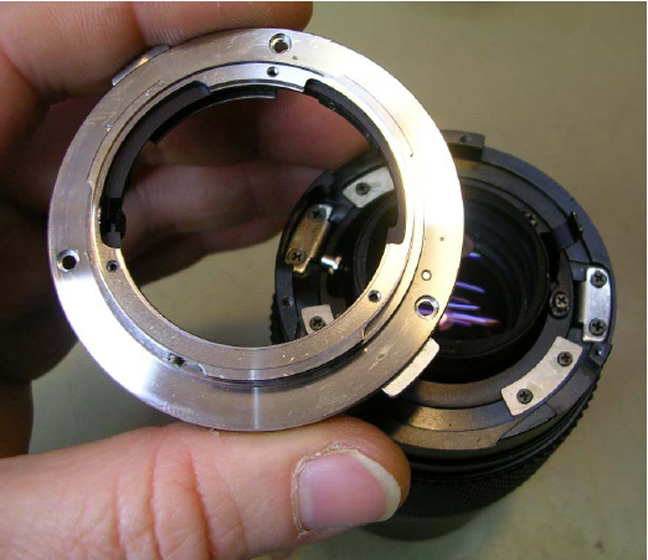
After removing the three screws, it can be lifted. |
|
Unscrewing the Olympus OM bayonet. |
|
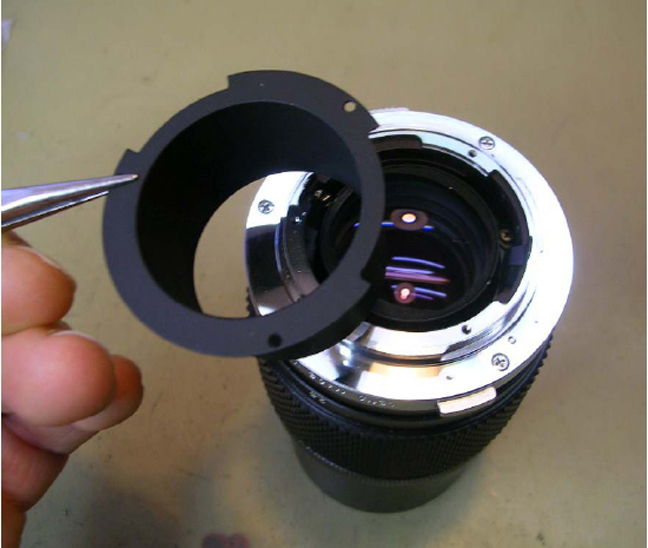
Now removing it. |
|
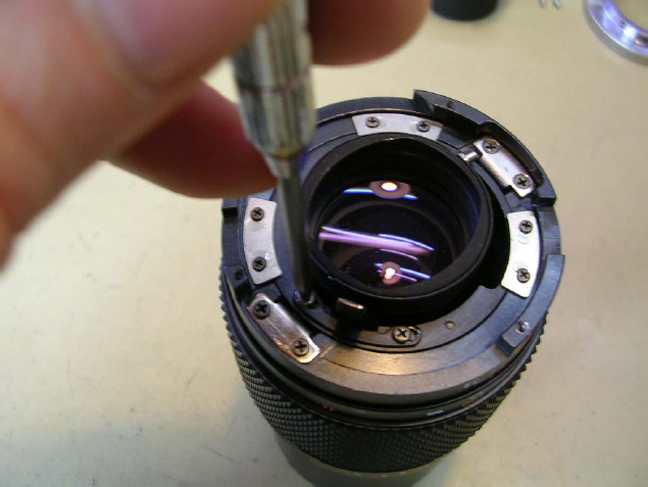
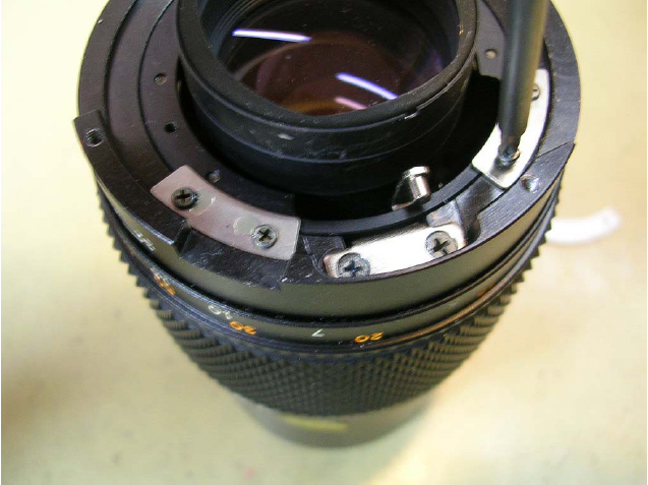
We have to remove this lever. |
|
Here it goes. |
|
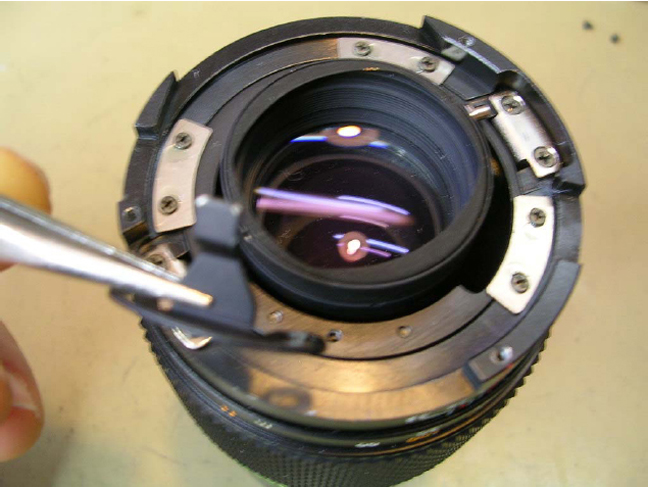
Now we have to keep this lever on the left side, to make the aperture ring control the iris. |
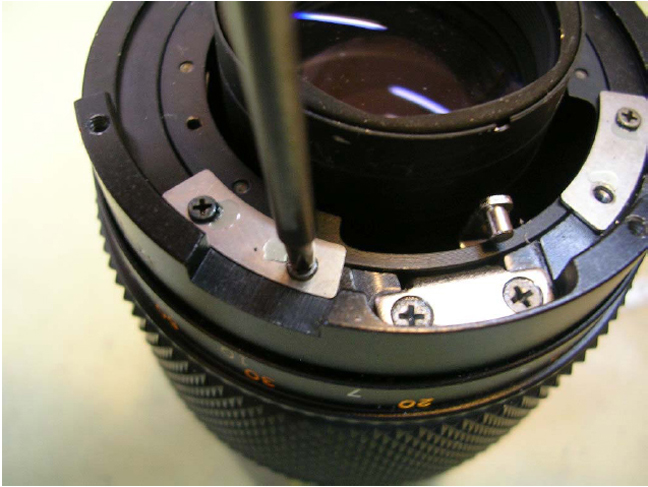 |
To achieve this goal, Nazmi needed to remove these two screws.... |
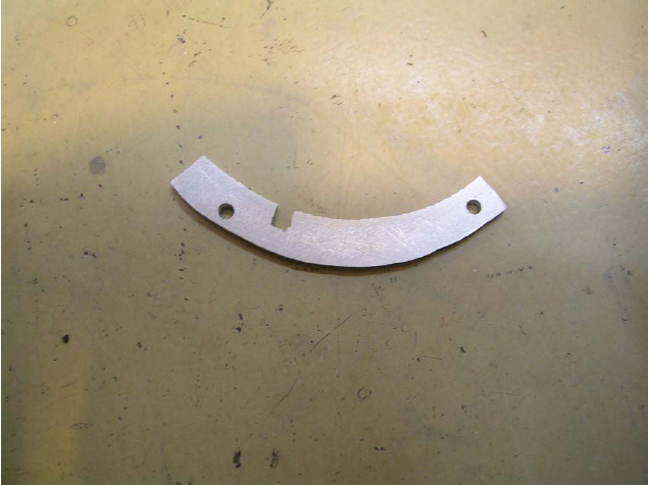 | .,. and made this piece to hold the lever. |
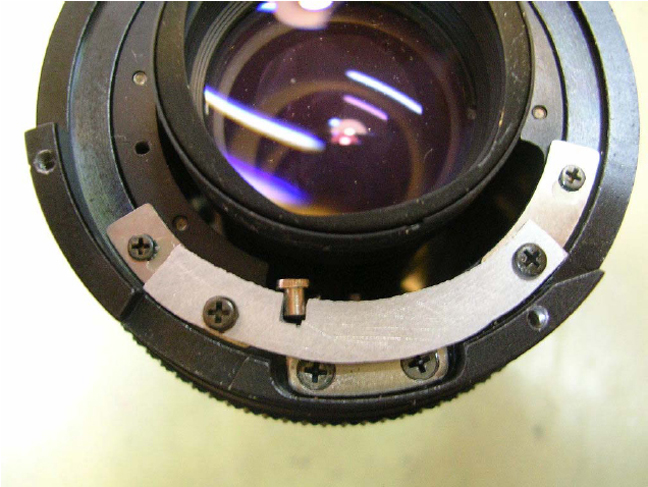 | This is how the holder works. |
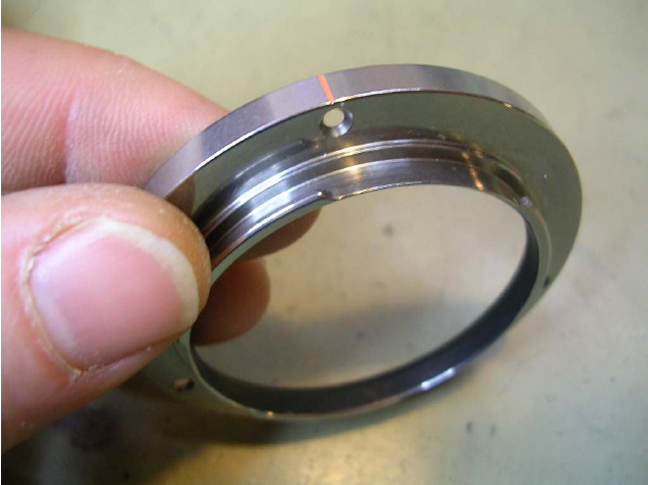 | This is our Nikon-Zuiko bayonet. |
 | I usually check the interior of the lens before installing the bayonet.
If needed, I paint with a flat black marker the bright metal pieces that could be in the view.
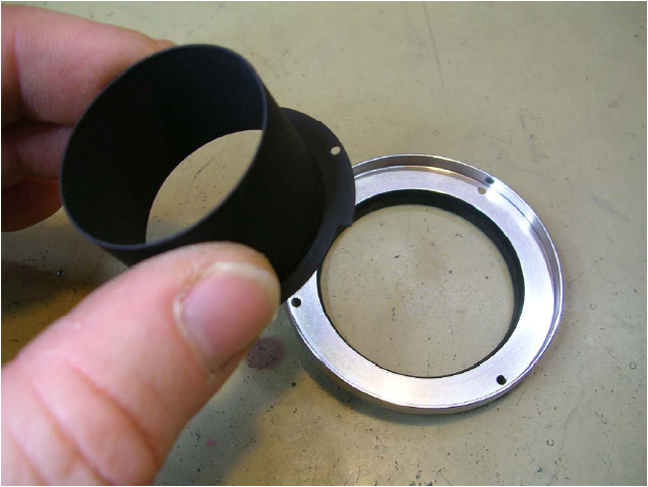
But Nazmi wanted to put the black shroud again. |
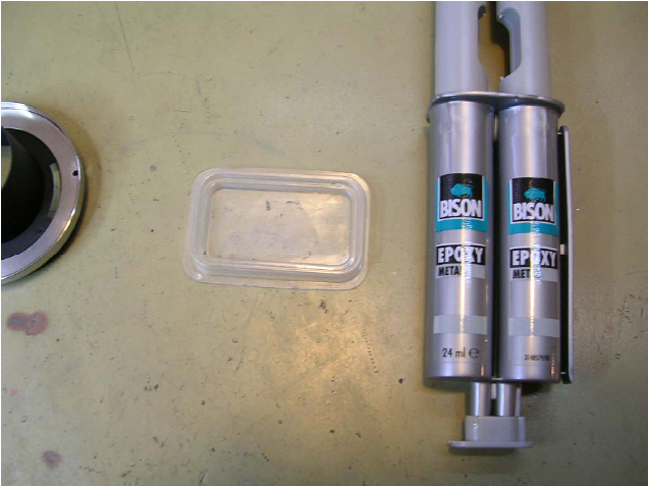 | He is going to glue it. |
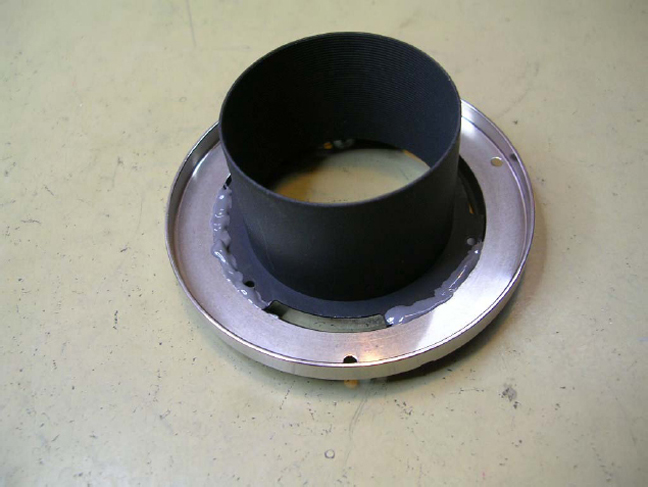 | Glued. |
 | And the Nikon bayonet + shroud are working fine with this excellent Olympus lens .
Thanks a lot for these great pictures! |
Back to the Olympus OM for Nikon
Page
Back to the Olymous OM for Pentax Page
|
|