| Thanks to our client and friend Jérôme, who lent this Red camera to shoot these instructions pictures. |
 |
|
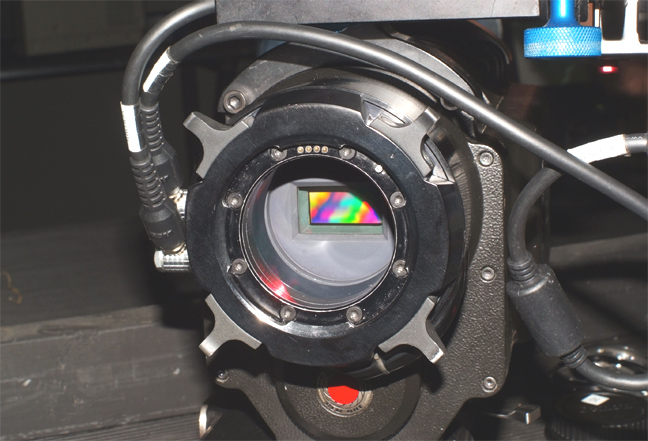
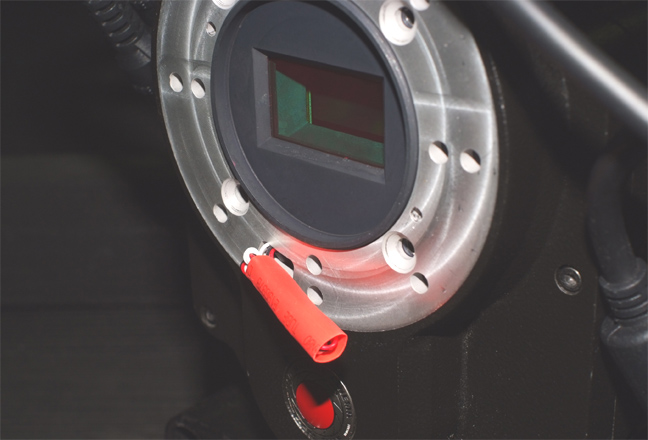
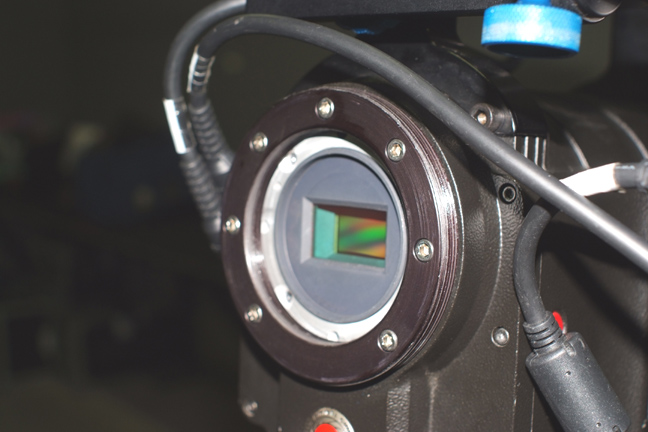
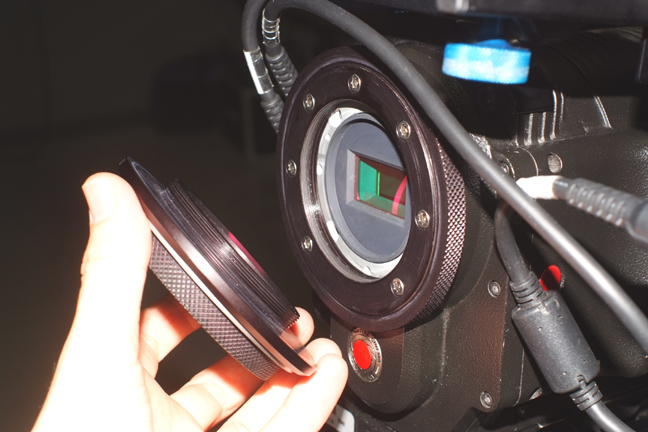
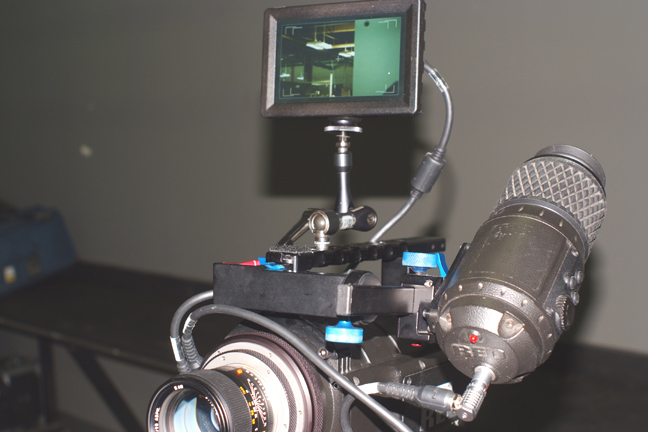
This
is the Red One cine camera with its PL mount.
|
|
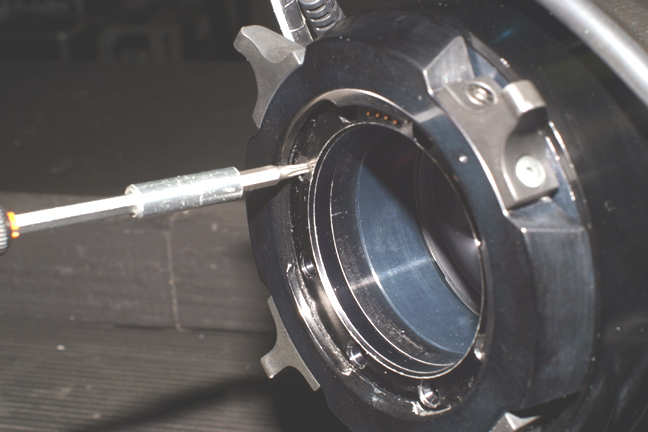
First,
unscrew the PL mount using a torx screwdriver.
|
|
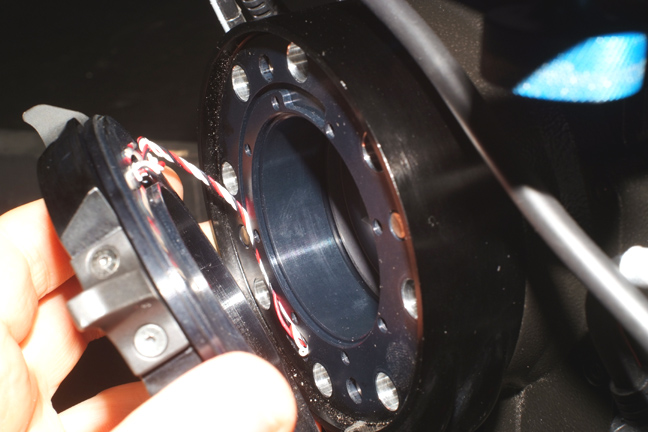
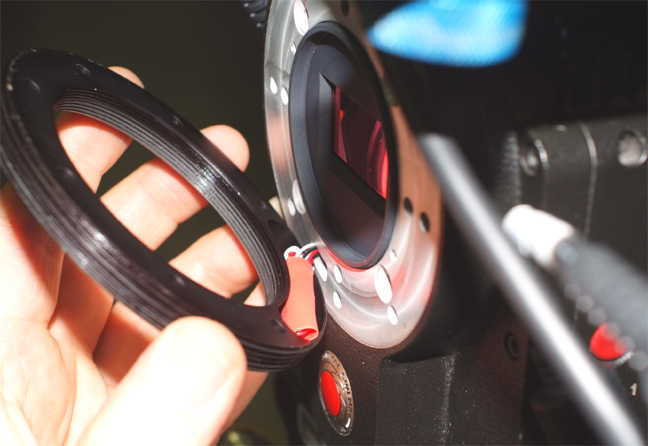
Now remove the PL mount, work slowly, there is a delicate cable that should be taken care of.
|

|
The PL mount is removed.
|
|
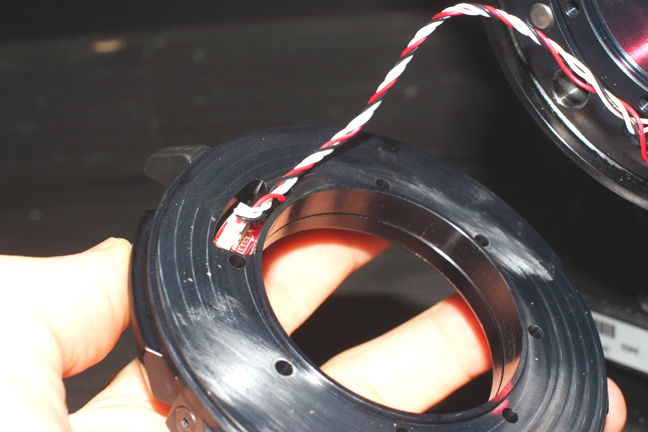
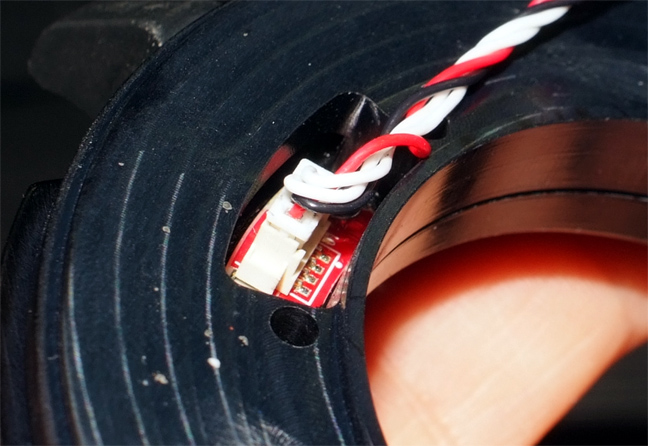
We have to disconnect the cable from the PL mount.
|
|
This is the plug, pull it carefully. |
|
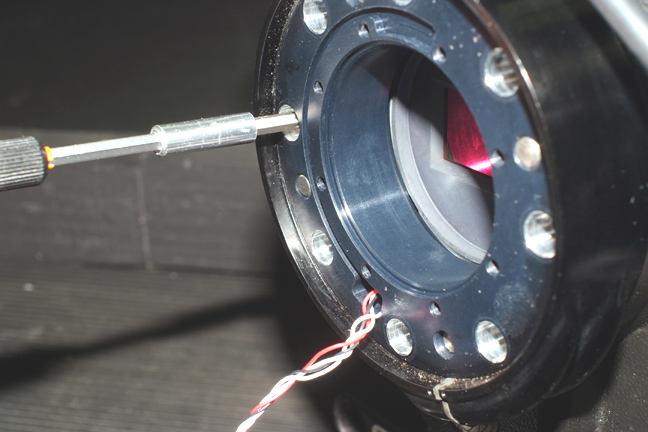
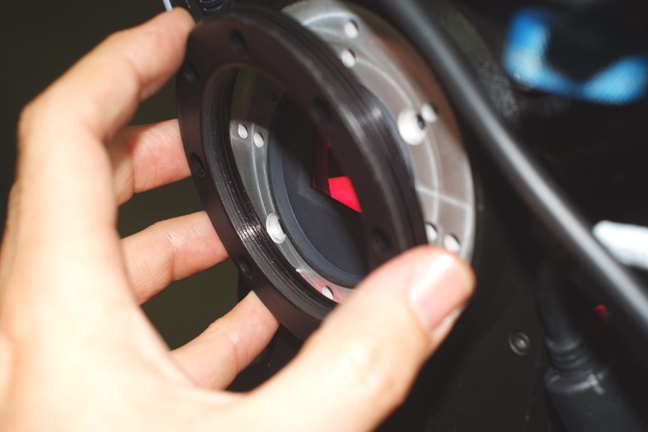
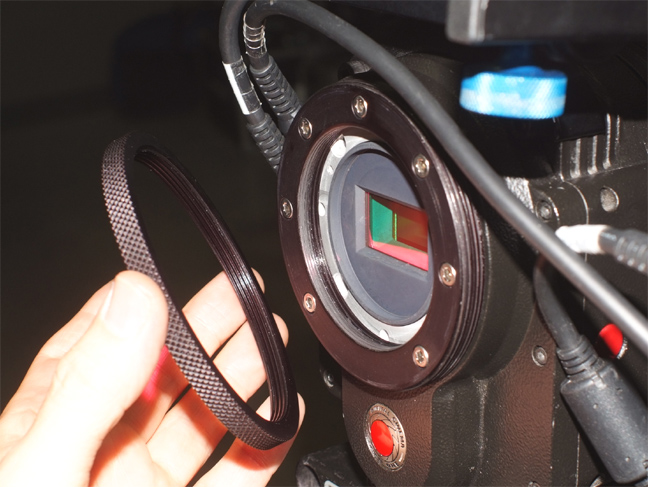
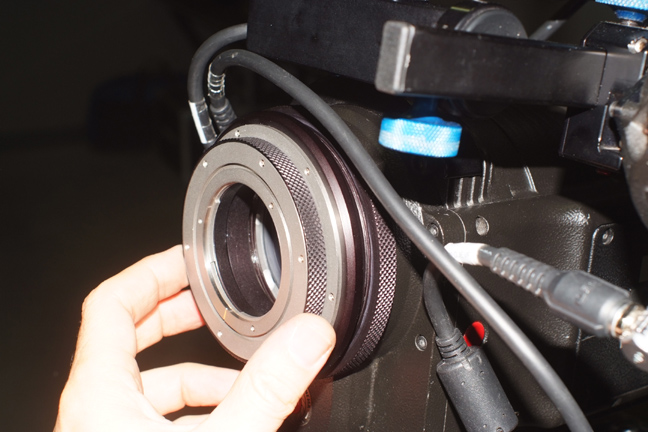
Ok, now we have to remove the collimation base of the camera.
|
|
Be careful, the cable goes through a hole in that ring.
.
|
|
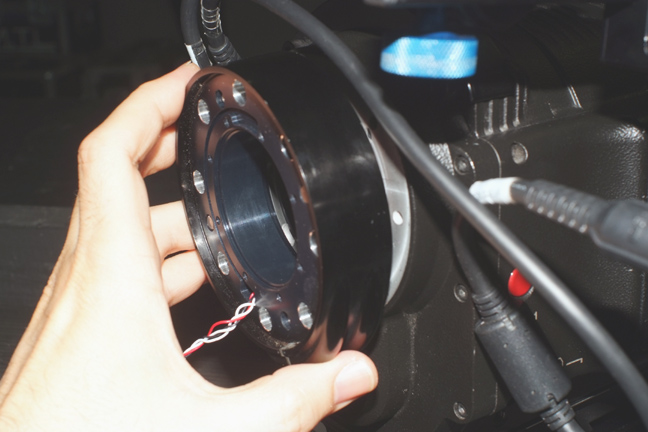
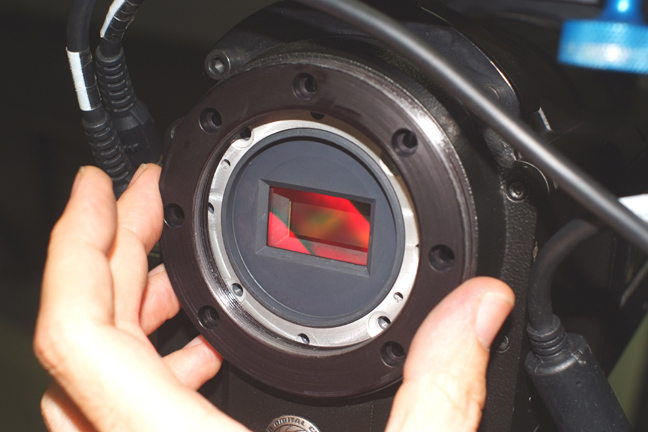
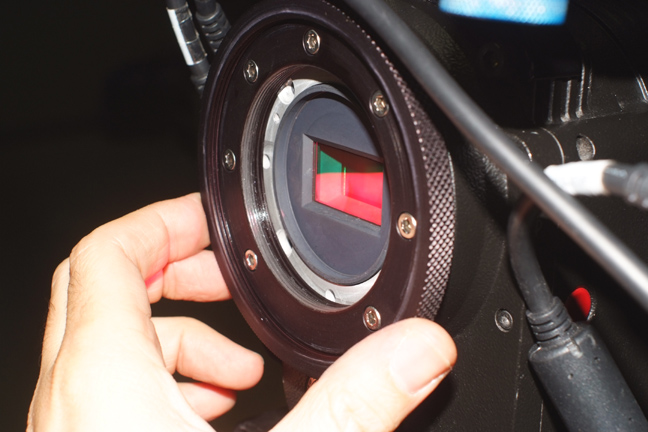
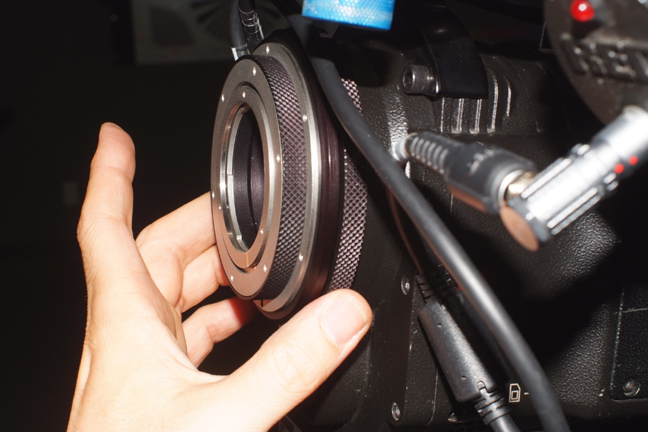
Another view.
|

|
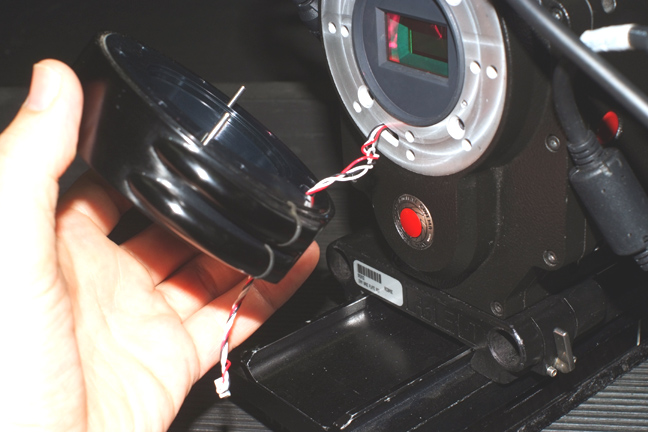
After removing it, we have to fold the cable four times.
|
|
And put it together inside a small plastic tube. |
 | We are ready to install the Leitax mount.
First, the base ring, that has an appropriate space to fit the cable without make any damage to it. |
 | The ring is screwed to the camera using the provided screws. |
 | Find the right position. |
 | And screw them using an Allen tool. |
 | Ready. |
 | Now, let's screw this ring on it. |
 | Screw it until it is flush with the base ring, or even a bit more. |
 | Ready. |
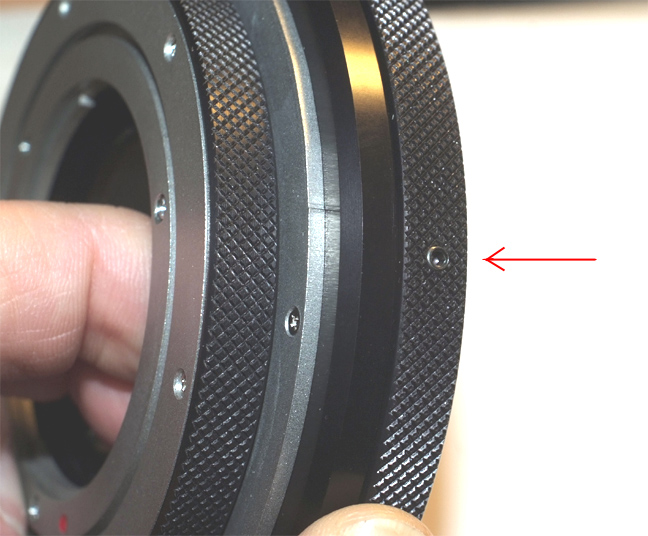
 | Now, we can screw the rest of the mount.
Here in this picture, the Leitax Canon mount and the collimation ring are already attached together. |
 | Screw until it reaches the deeper position. |
 | And secure it rotating the first ring against the mount until they get stuck and cannot move. |
 | This ring can be secured with this locking screw. |
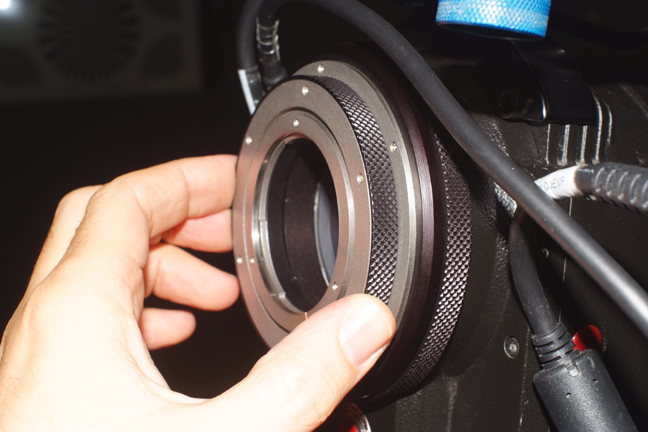 | Rotating the Canon mount ring counter clock wise, we make it ready to use Canon mount lenses.. |
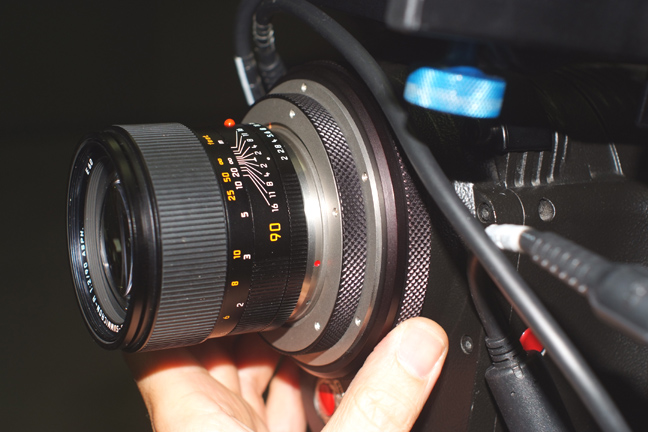
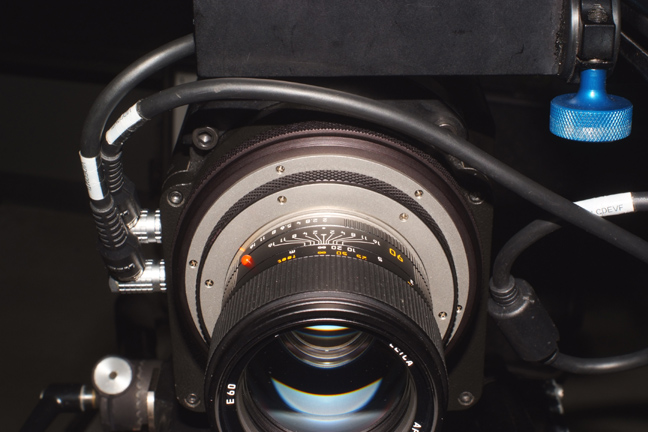
 | Like this Leica-R Apo-Summicron 90/2 Aspherical, that uses a Leitax Canon mount.
The
prototype in the picture has an orange line for the lens positioning.
But the production units have the more traditional red dot. |
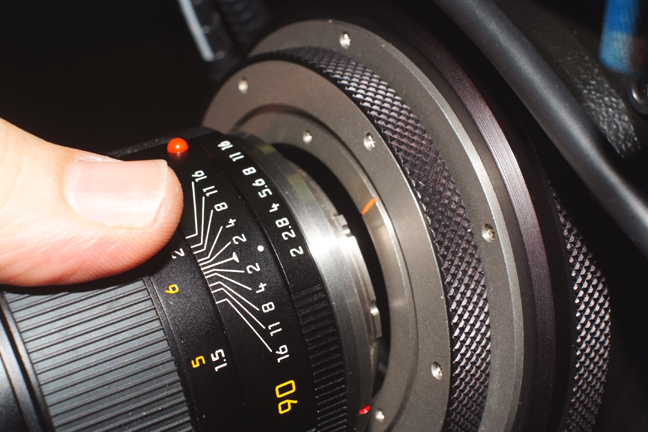
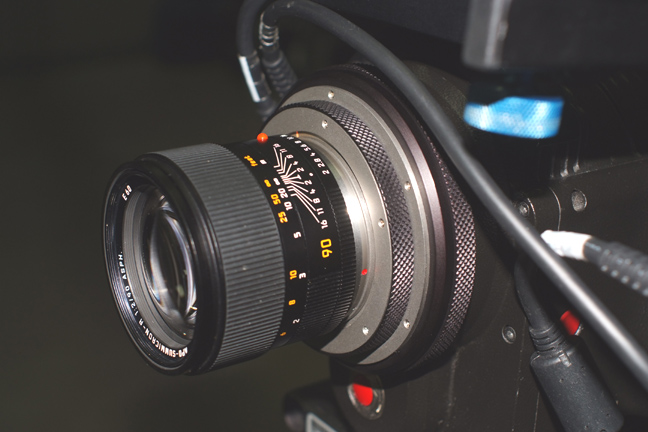
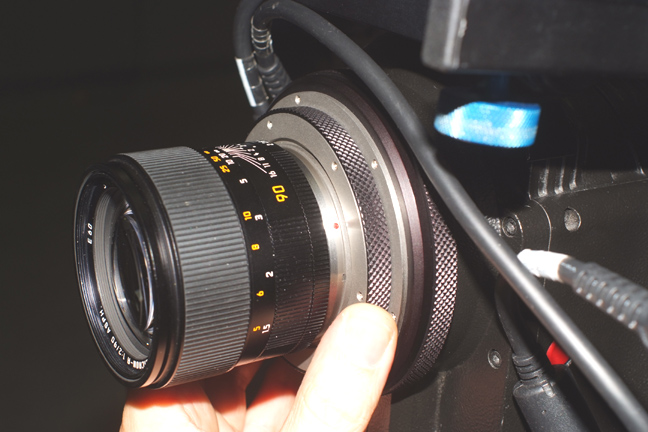
 | This is how the lens can enter the mount. |
 | And now just rotate it clock wise until the lens hits the hard stop. |
 | And
this is the special feature of this mount: rotating clockwise
this knurled ring, the lens will be positively locked to the mount. |
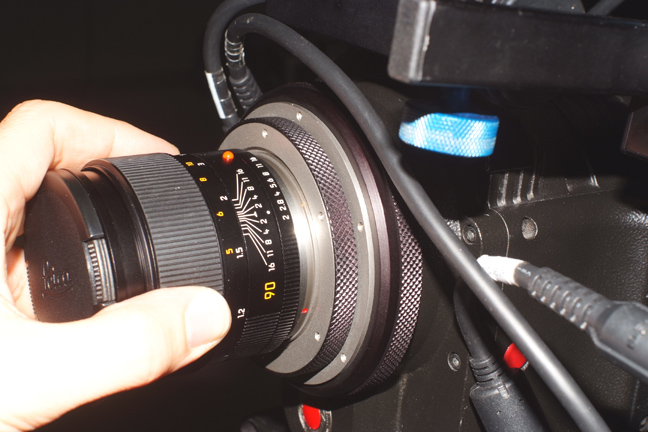
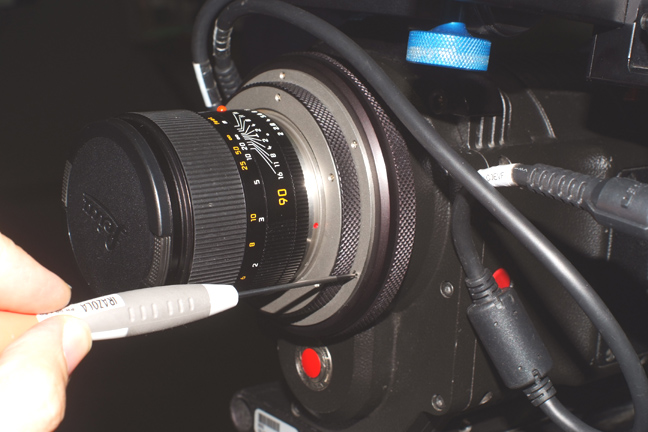
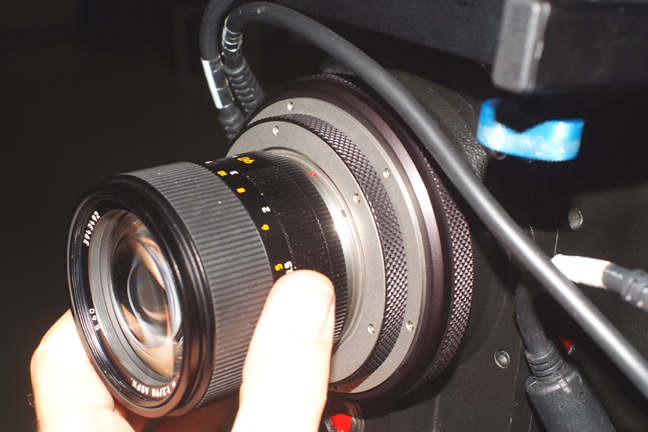
 | If necessary, you can lock the ring movement with this Allen screw. |
 | Ready,
the lens is mounted on the camera, now we have to find the correct
registry distance, unfortunately, many of the old manual lenses have
been manipulated to make them work with adapters of different
thicknesses. |
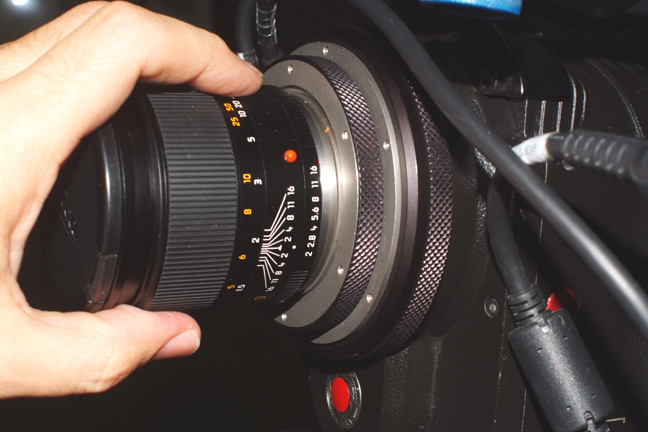
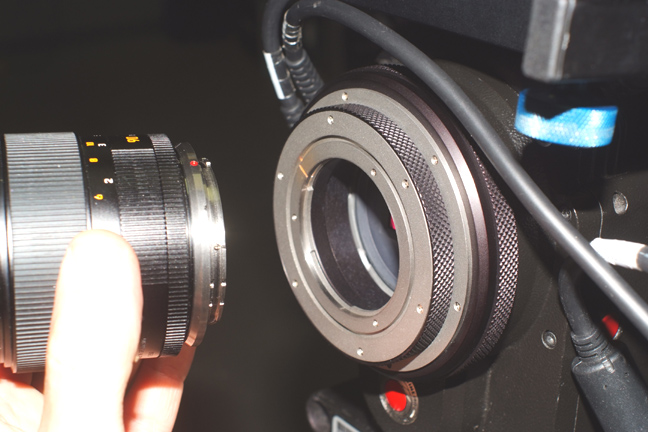
 | Loose the first knurled ring . |
 | And the collimation ring together with the lens will be free to rotate and change the distance of the lens to the sensor.
I just put the focus ring of the lens at infinity, and point the camera to a very far away object. |
 | In the studio there are no windows, so this is as far away that I can focus. |
 | Ok, the infinity focus is corrected. |
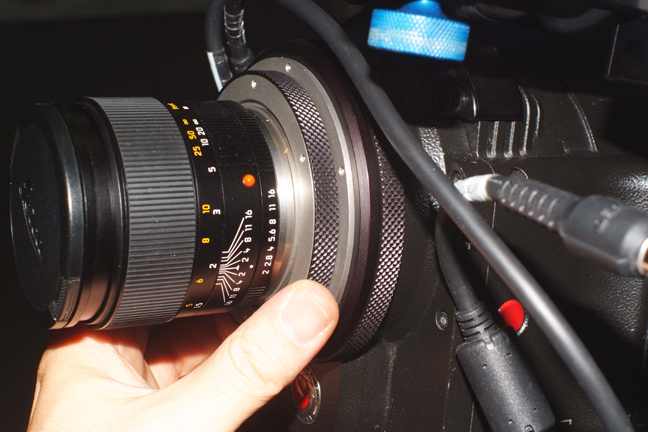
 | We have the lens locked and the infinity focus corrected.
But after all that rotations, the lens scale center is not at the top position. |
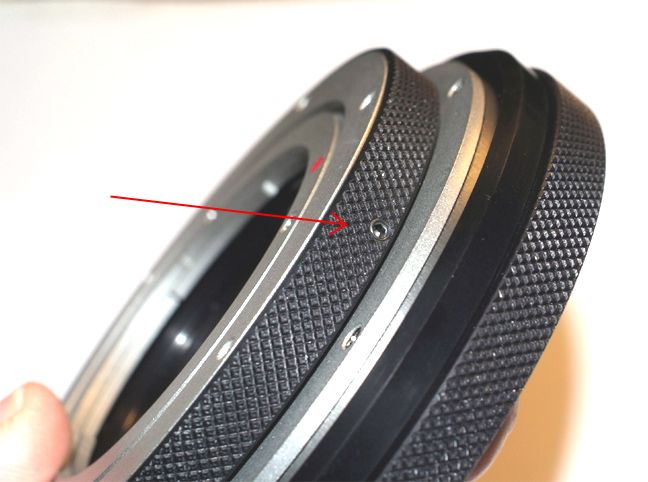
 | We can solve this, loose a bit the screws of this intermediate ring.
Be careful, only loose them a bit, don't remove them.
This
intermediate ring is now made in two pieces, so you can remove it,
making easy to install a different Leitax mount on top of the
collimation ring. |
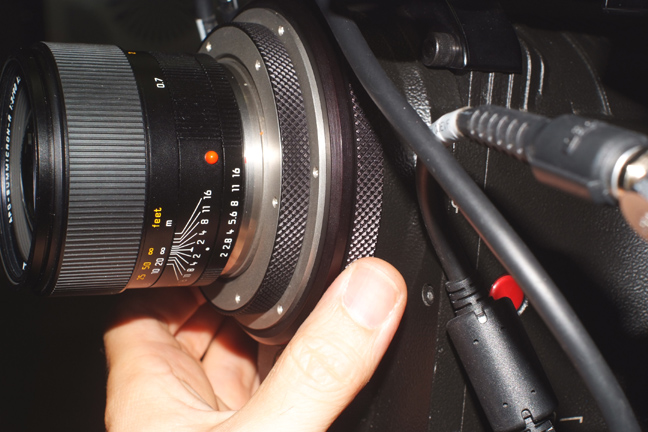
 | When
they are loose, you can rotate the Canon mount and lens without
moving the collimation ring, therefore not changing the registry
distance.
Now the lens is in top position.
Of course, you can rotate the lens to your preferred position. |
 | Ready, the Leica-R lens is locked on the Red One camera.
As solid as a PL lens. |
 | To change the lenses, we have just to unscrew the ring of the Canon mount. |
 | Rotate the lens counterclockwise, like on a regular Canon mount. |
 | And remove it. |
 | Now , put another lens,
Rotate it clockwise until it hits the hard stop. |
 | And secure it again. |
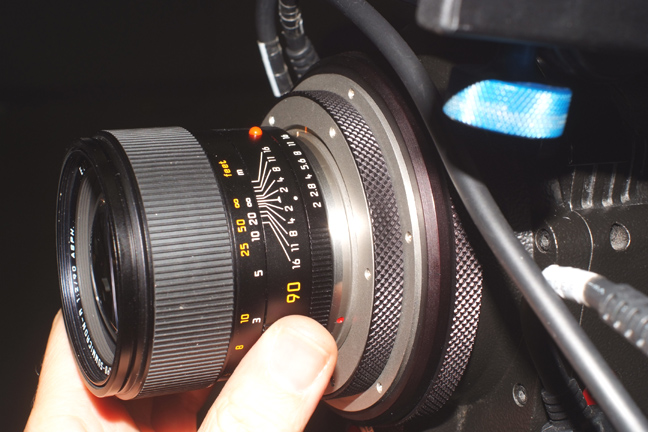
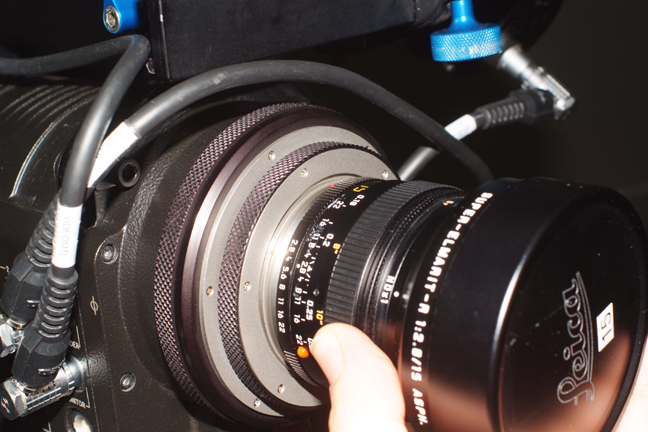
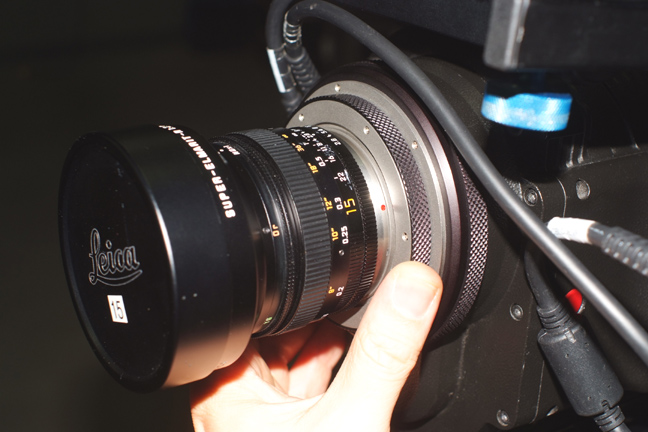
 | Ready, the Super-Elmarit 15/2.8
is perfectly locked on the Red One.
In case the infinity position needs to be corrected, just repeat the process.
|
| For any question, please write to info@leitax.com |
|
Back to Leica lens for Cinema cameras
Back to Leitax
|
|